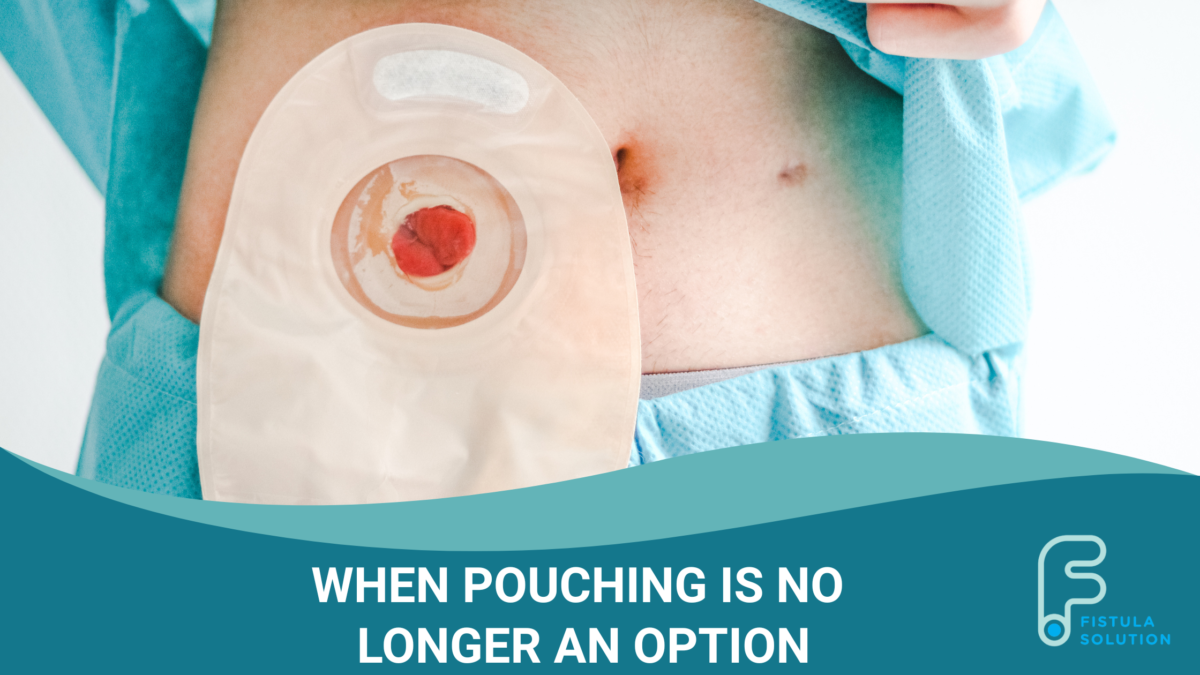
Pouching remains the standard approach for managing ostomies and fistulas. However, certain anatomical presentations can make achieving and maintaining a reliable seal difficult.
Challenges That May Impact Pouching Success
Factors that may contribute to pouching difficulties include:
- Injured peristomal or perifistula skin
- Retracted stomas or fistulas
- Irregular wound contours
- High-volume effluent
- Frequent leakage
These challenges can increase dressing changes, contribute to skin breakdown, and make containment more difficult.
When to Consider a New Approach
Early indicators may include:
- Recurrent leakage
- Persistent skin breakdown
- Difficulty maintaining a seal
- Frequent appliance changes
- Increasing time spent managing output
Recognizing these challenges may help support an improved management approach.
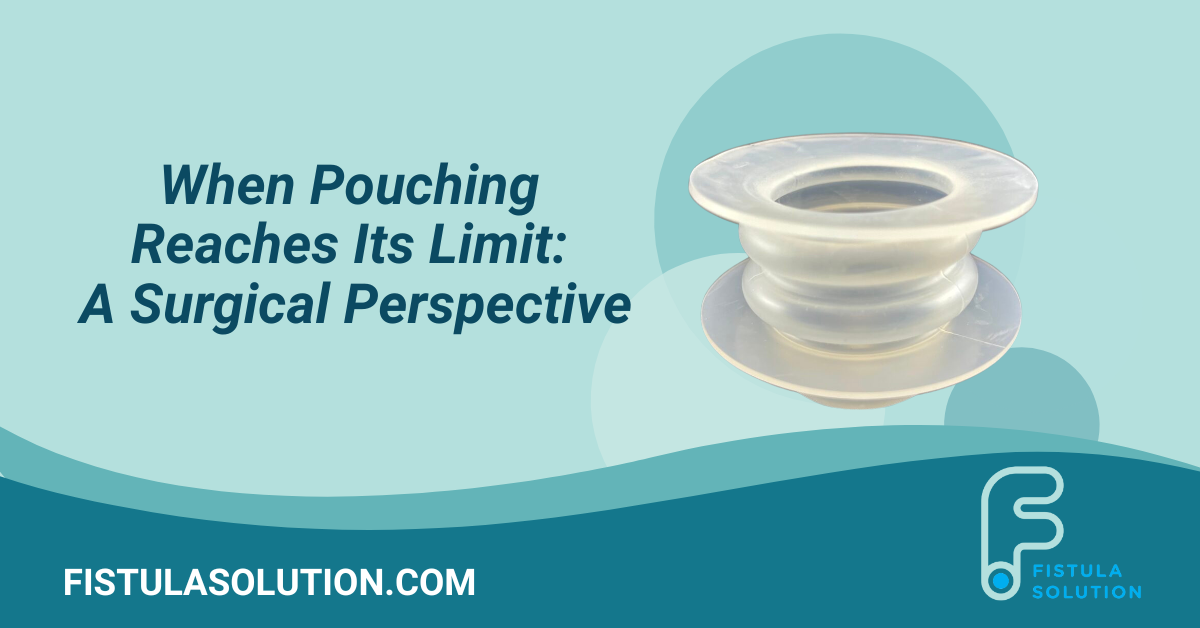
Isolation Devices are Designed to Assist in Successful Pouching
By separating effluent from vulnerable tissue and directing output into a pouch, isolation devices can help clinicians manage cases where anatomy makes containment difficult.
Clinicians managing these challenges may also be interested in our article, When Pouching Reaches Its Limit: A Surgical Perspective.
For More Information
For information on device availability within your hospital system or to discuss clinical coordination, contact Fistula Solution at info@fistulasolution.com.
Learn more about the Wound Crown®, Fistula Funnel®, and Isolator Strip® in the Knowledge Center.