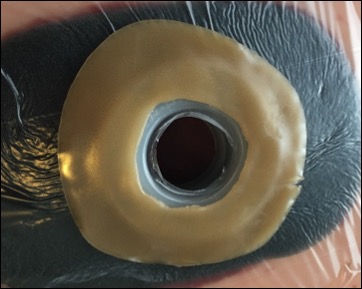
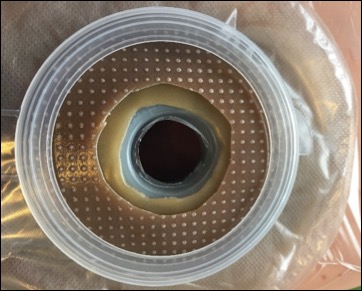
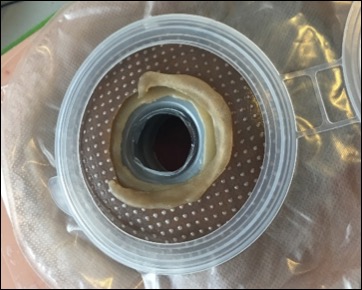
Managing effluent from a high-output fistula or ostomy can be a challenge. Even large, high-output pouches can prove insufficient when a patient puts out 5 to 10 (or more) liters of effluent daily.
Pictured is a technique for managing high volumes of effluent. A container is connected to the pouch using large bore corrugated tubing. Then, as prescribed by the provider, intermittent wall suction is applied to the container to draw effluent out of the pouch.
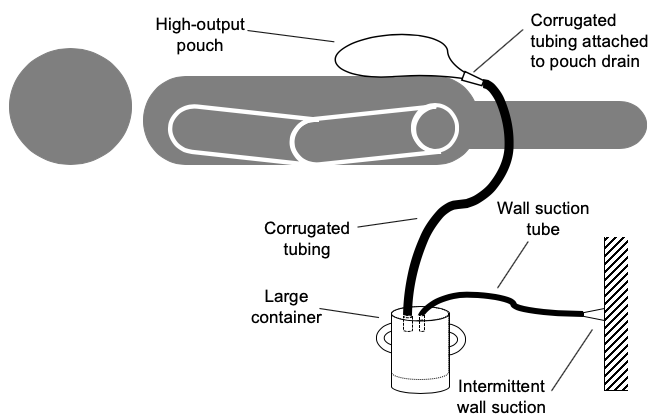
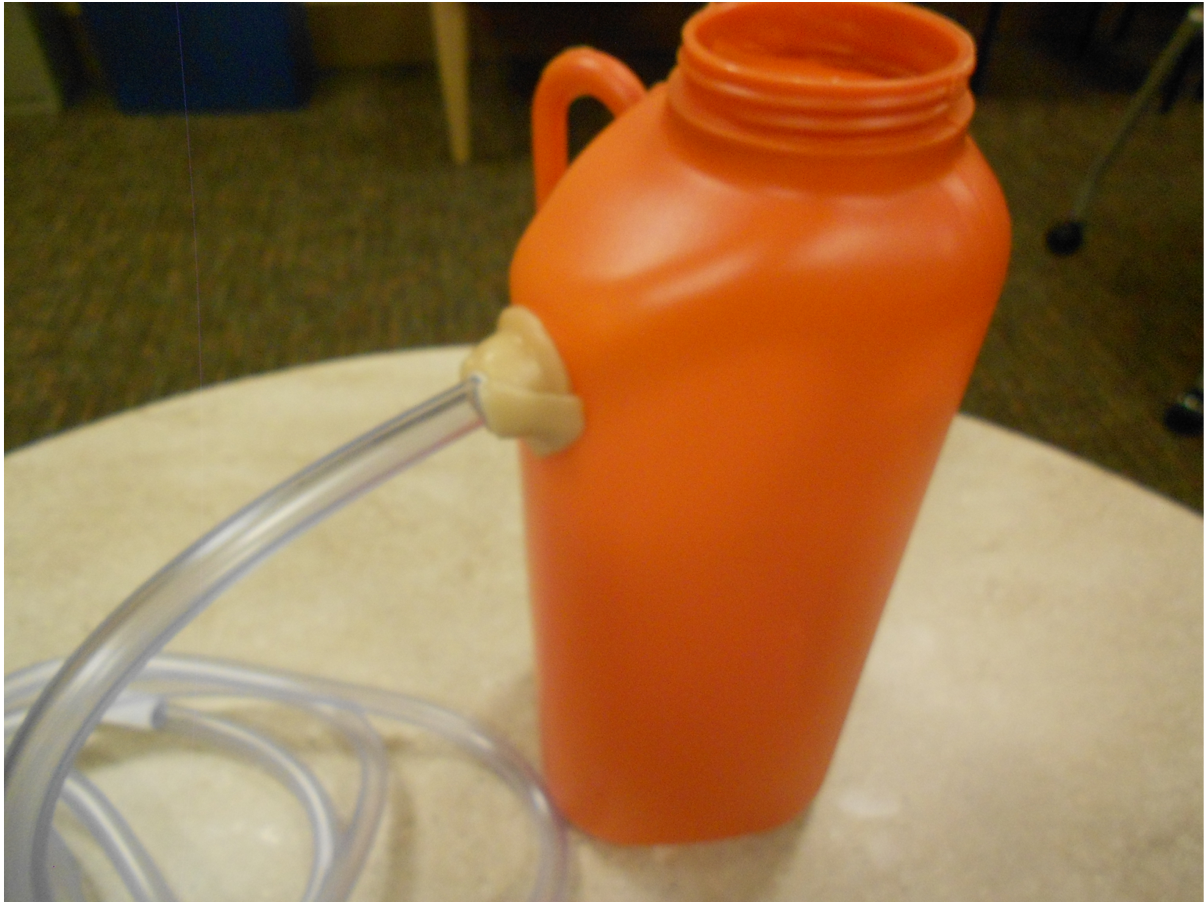
1. Connect and seal a suction tube near the top of a 3000 ml or other large container. Do not extend the tube more than 3 inches / 6 cm inside the container. Connect the free end of the tube to wall suction.
2. Connect and seal corrugated tubing to the top of the container. Ensure tubing is long enough to reach from the floor to the patient's pouch.
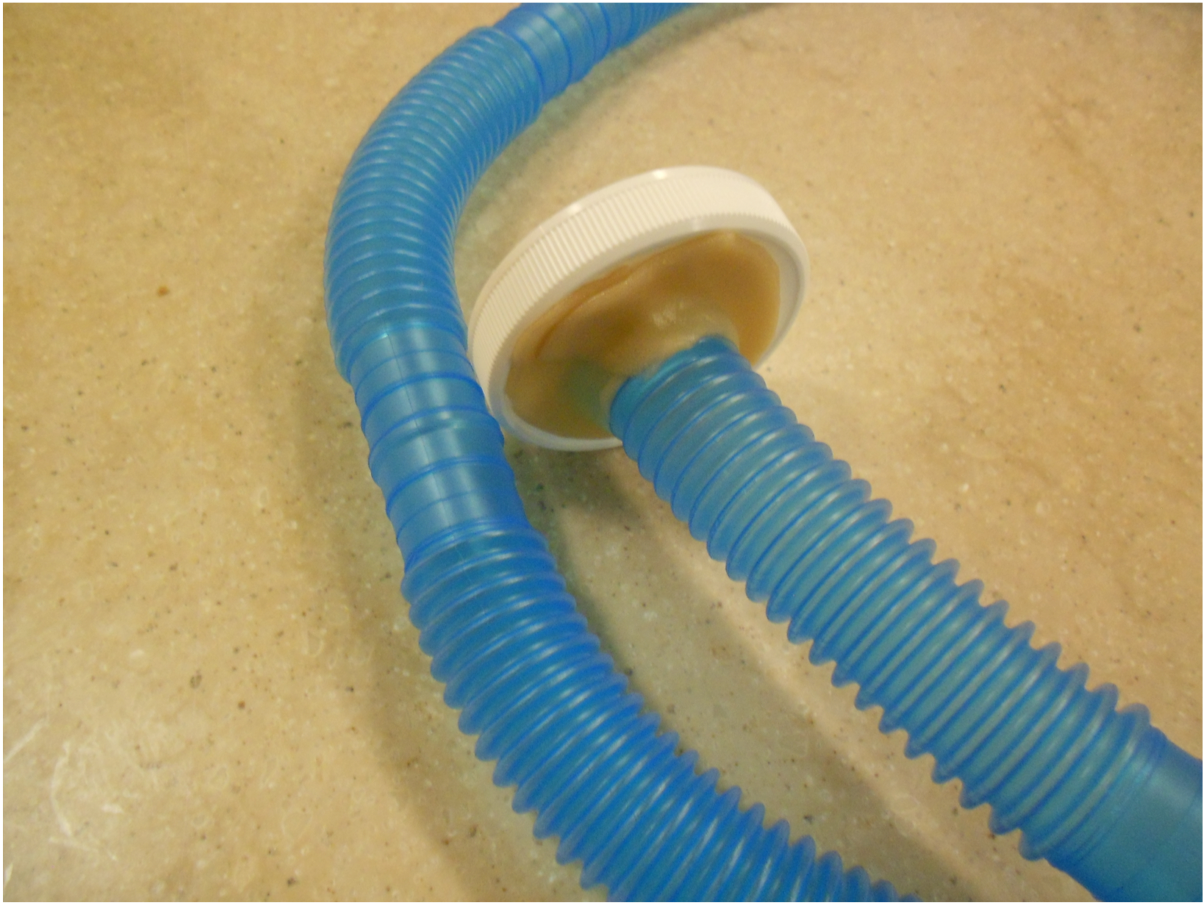
3. Fasten the top to the container and place the container on the floor near the patient.
Note that the container inlets for corrugated tubing and wall suction are spaced apart. This is so the effluent that is drawn into the container will drop to the bottom of the container and not be drawn into wall suction.
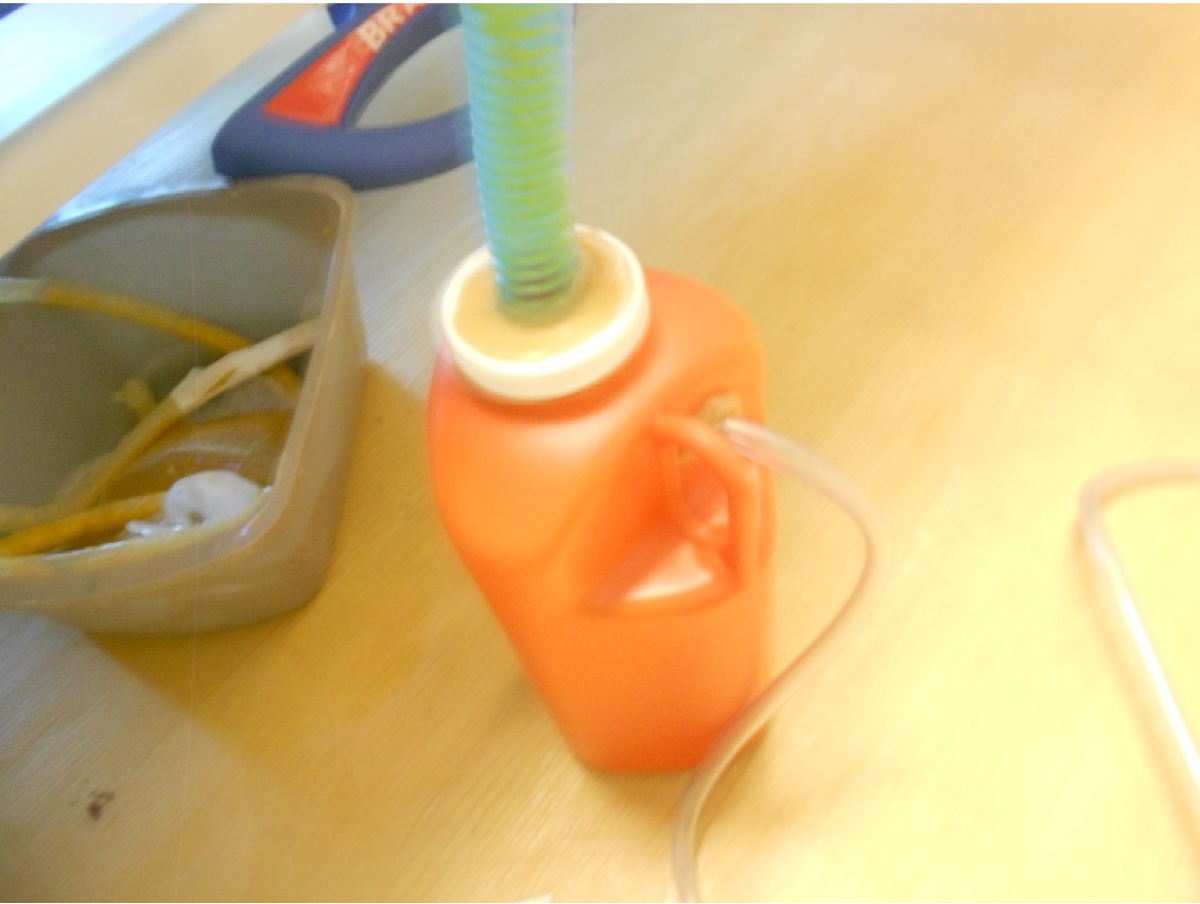
4. Connect and seal the free end of the corrugated tubing to the pouch drain.
As indicated by the healthcare provider, apply intermittent wall suction to draw excess effluent out of the pouch and through the corrugated tubing into the container.
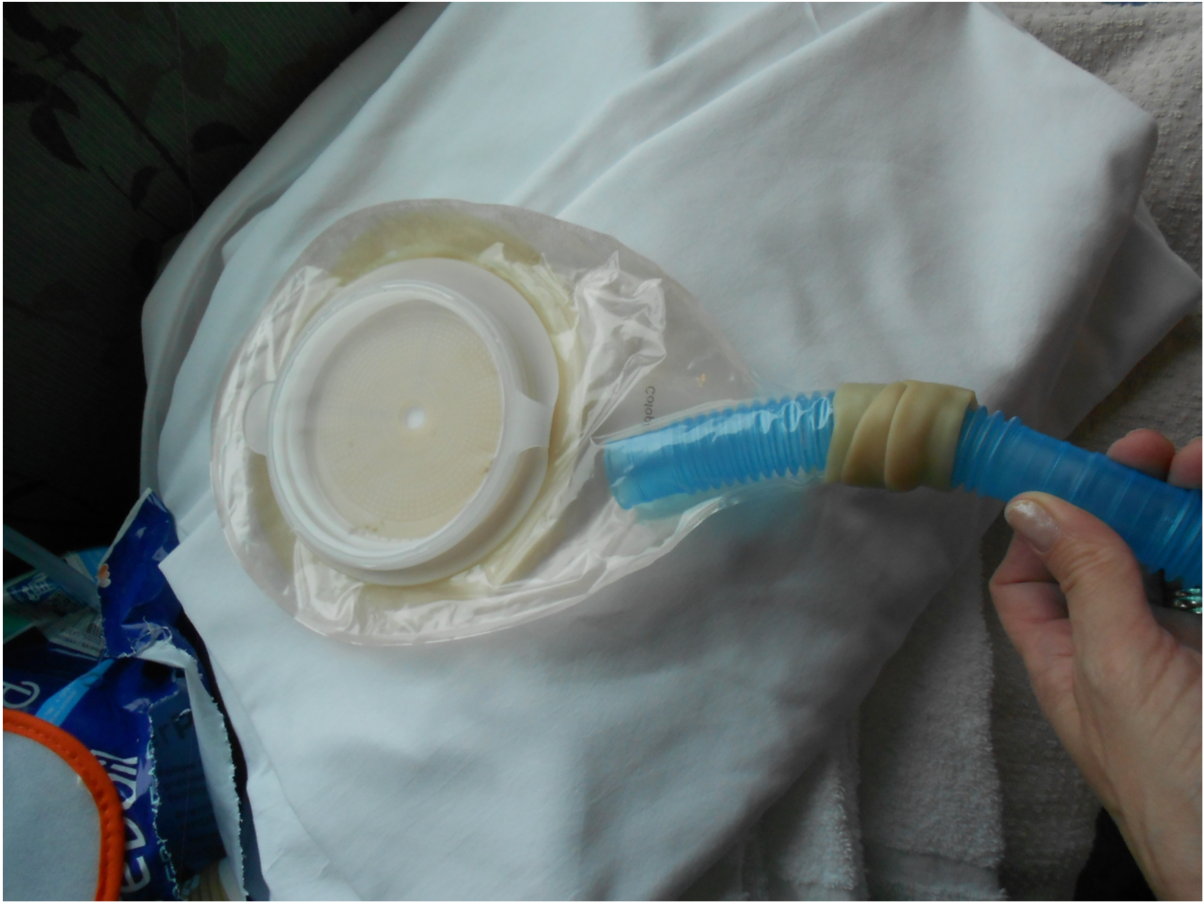
This technique tip can help eliminate pouch clogs and effluent overfilling that can result in pouch adhesion failure and spills
The fill level of the large container should be monitored and the container can be emptied as needed. When a patient needs to move the suction tube can be disconnected from the wall so the patient can take the container with them.


