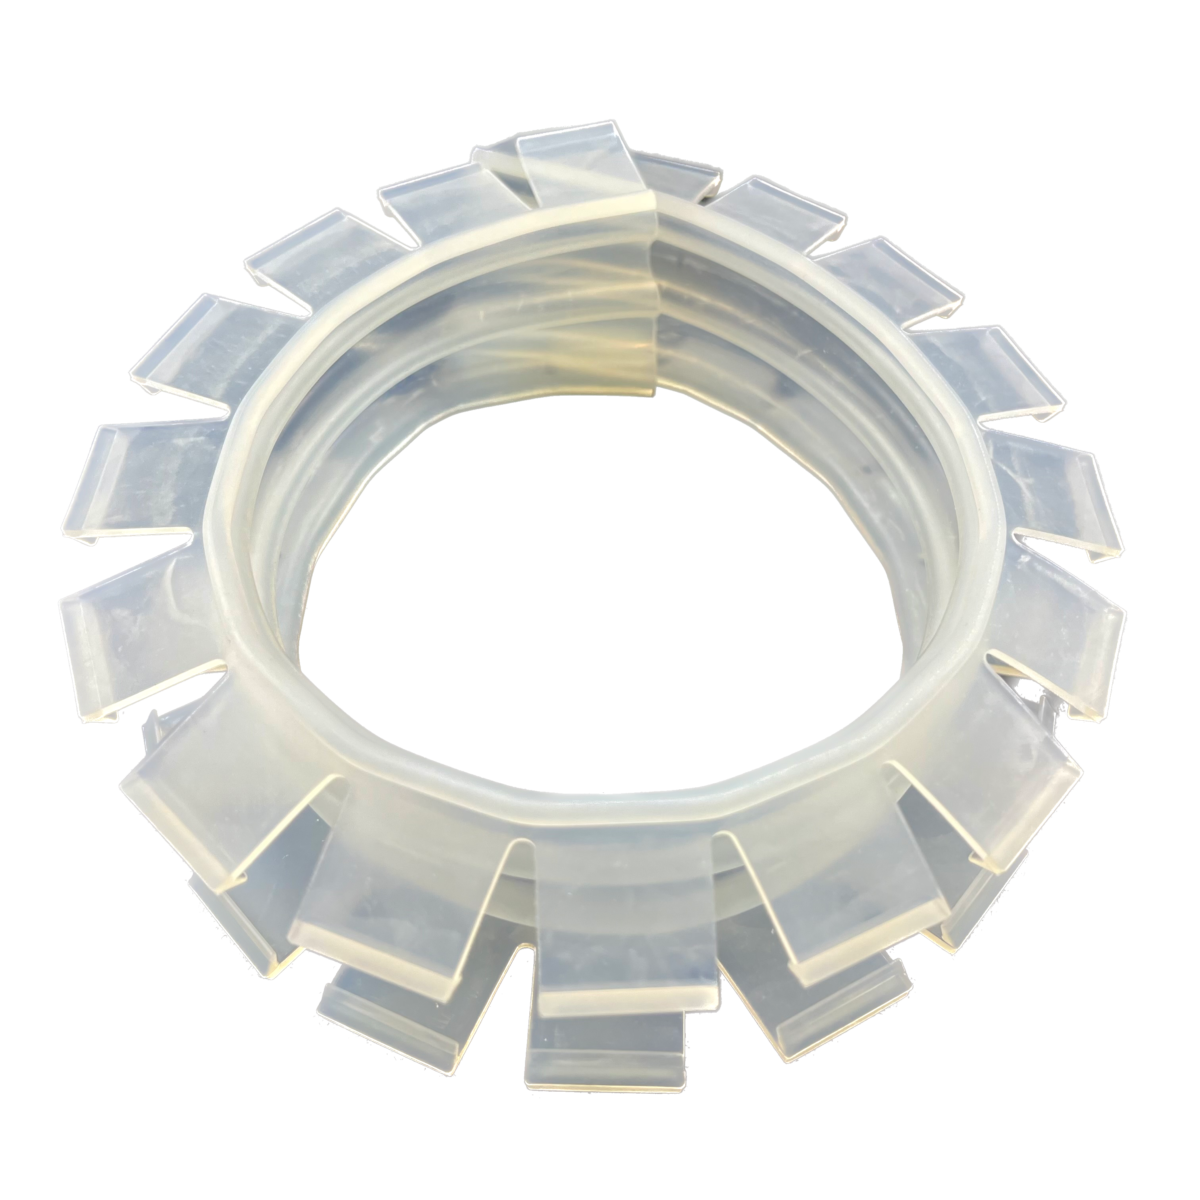
Isolator Strip Instructions
Compress barrier ring to the surface of the body around an enteric fistula, stoma, or drain to seal and protect the skin from effluent.

1
Cut to length. Bulb seal should be placed down.

2
If used with dressing, make hole centered over fistula or stoma.

3
If used with dressing, seat device flanges on top and bottom. Place hydrocolloid strip between overlap.

4
Center fistula or stoma in opening. Compress device.

5
Cut drape or other coverings from inner ring. Apply ostomy pouch.
- Disinfect device with skin or wound cleaning solution before use.
- Do not autoclave.
 Check device 24 hours after first placement.
- Change device within 3 days.
- Single use only.
Video Overview
Click here for helpful video on how to apply a wound manager to the Isolator Strip.
Technique Tips

Partial ring
When using the Isolator Strip to form a partial ring or linear barrier, apply segments of an ostomy barrier ring along the bulb seal on the base of the device and generously along the ends.
Ostomy stoma paste can also be applied along the Isolator Strip base and along the ends to help obtain a secure seal.
Closed ring
When using the Isolator Strip to form a ring, apply generous segments of an ostomy barrier ring between the overlapping ends.

An ostomy barrier ring applied to the base of the Isolator Strip can be helpful in obtaining a good seal.

Need help?
Complex Wounds and Fistulas takes wound care theory from the textbook level down to practical “Here’s how I do it” application. Find videos and other tools to help patients with complex wounds and fistulas.
How to Order
Please fill out our order form and get a quote today!